andycarrell
Blog
Publishing an NPM package on GitHub
This is a guide to publishing and consuming a node package / library to the GitHub package registry, specifically for NPM. The combination of GitHub packages and actions makes sharing code between repositories easier than ever before. I encourage you to have a good read of both sets of documentation— all the information you need is in the official documentation, or associated forums. This post distills down that information, focuses in on NPM, and outlines the process that's working for the frontend team at Jasper.
Overview
The output of this blog post should be a working GitHub action. As we progress through the post we will:
- Create a GitHub action that builds and publishes your library on push to your main branch.
- Ensure the action only runs if the library files have changed.
- Extend the action to perform a "dry run" of publishing the package, to confirm everything will run as expected before you commit.
- Discuss how to access the GitHub NPM registry locally and in continuous integration.
- Mention some of the stumbling blocks we encountered along the way.
The complete GitHub action code is as follows. Read on for a detailed explanation of what we've done and why.
1name: Library build & publish2on:3 pull_request:4 paths:5 - "library/**"6 push:7 branches:8 - main9 paths:10 - "library/**"1112jobs:13 build:14 name: Build & publish15 runs-on: ubuntu-latest16 steps:17 - name: Checkout code18 uses: actions/checkout@v119 - name: Authenticate GitHub package registry20 run: echo '//npm.pkg.github.com/:_authToken=${{ secrets.GITHUB_TOKEN }}' > ~/.npmrc21 - name: Set short sha as environment variable22 run: echo ::set-env name=sha_short::$(git rev-parse --short=7 ${{ github.sha }})23 - name: Setup node24 uses: actions/setup-node@v125 - name: Install26 run: npm install27 - name: Verify28 run: npm run lint && npm run test29 - name: Build30 run: npm run build-library -- --version-suffix ${{ env.sha_short }}31 - name: Publish - dry run32 run: npm publish output -- --dry-run33 - name: Publish34 if: github.ref == 'refs/heads/main' && github.event_name == 'push'35 run: npm publish outputAssumptions
This blog post assumes:
- You're using GitHub!
- GitHub packages is enabled for your respository.
- You're already bundling / building your library code.
GitHub packages
Check GitHub packages are available for your repository. From what I can tell, if you navigate to https://github.com/<user-name>/<repo-name>/packages and you see the following screen, you're good to go:
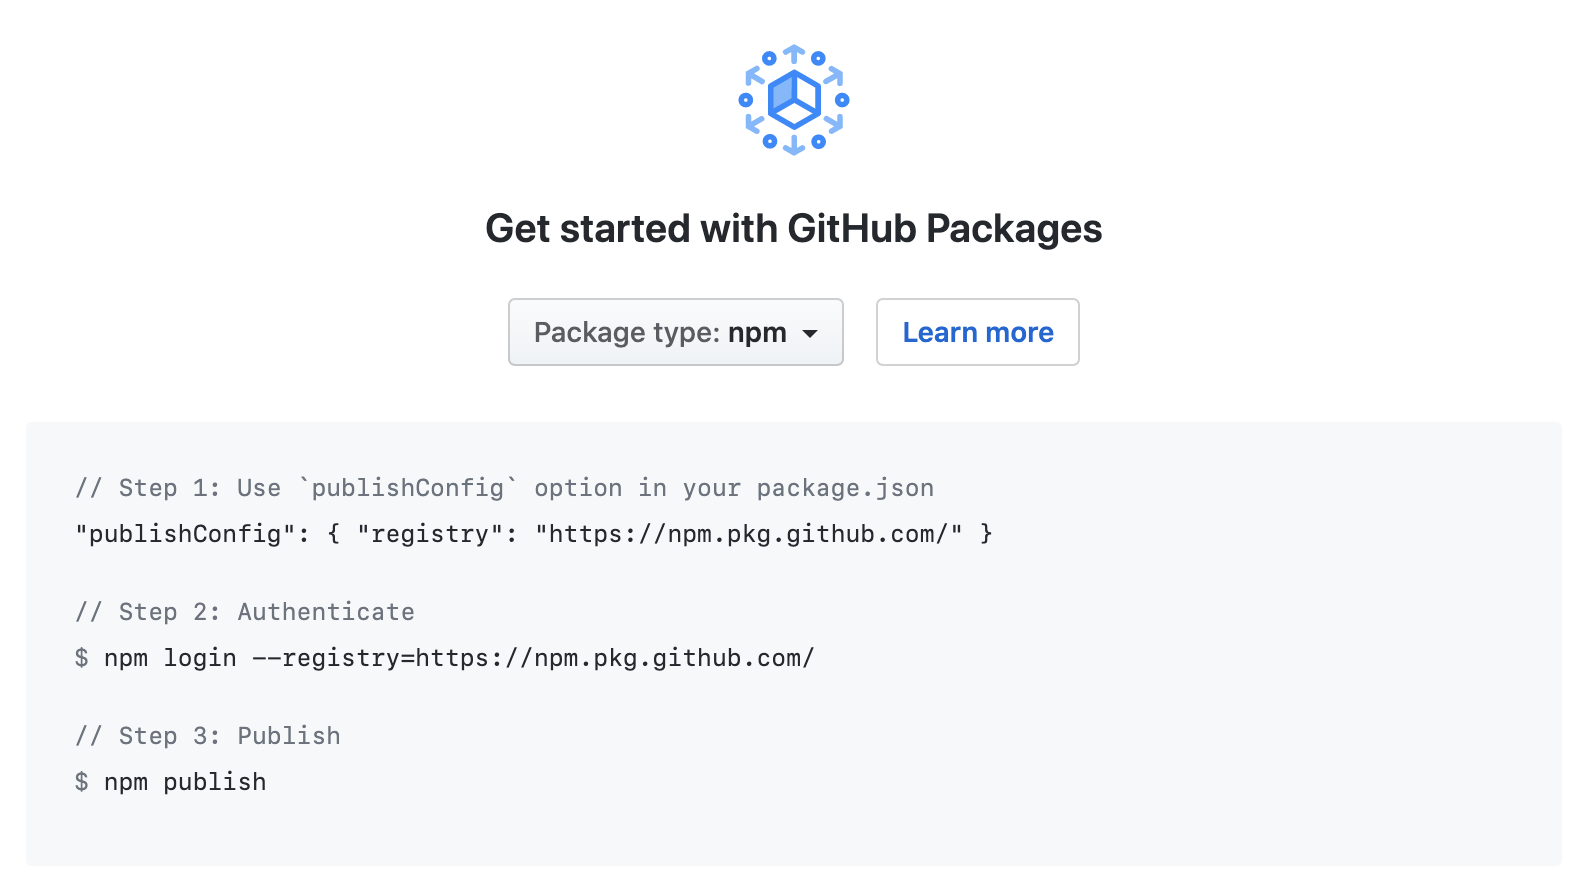
If not, you may have to dive into your plan and even reach out to GitHub for help. Some legacy plans may be excluded from using packages. On that note, if you're developing a package in a private repository double check prices and usage for your current plan, otherwise if public, at the time of writing it's all free!
Library build
I assume you're already able to bundle / build your library code into a form that you're happy to publish. How we configure and test our library warrants a blog post itself, so for demonstration purposes I'll reference a custom NPM script:
npm run build-libraryOur build uses Rollup and outputs to output/*. I recommend wrapping your build process in a custom script and referencing it in GitHub actions in a similar way.
You'll also need to update your library's package.json to include the following configuration:
1{2 // ...3 publishConfig: { registry: "https://npm.pkg.github.com/" },4 repository: {5 type: "git",6 url: "ssh://git@github.com:<user-name>/<library-name>.git",7 directory: "output"8 }9 // ...10}Create a GitHub action
If you're familiar with GitHub actions, or you understand what's going on in the example code then you can probably skip the following. More information on the syntax mentioned can be found in the documentation.
We start by defining a YAML file in the GitHub workflows directory .github/workflows From the docs:
.github/workflows directory of your repository.The name of the file doesn't matter, we'll call it something like publish-library.yml. Similarly, the name of the action isn't too significant, although it does appear in the GitHub actions UI, so an identifiable name will help:
1name: Library build & publish2on:3 push:4 branches:5 # or your 'default' branch6 - main7 paths:8 - "library/**"The "on" configuration defines which events will trigger your workflow. We further refine the conditions in which workflow is triggered— in this example, any git push, to the main branch, where file(s) in the library or directory have changed.
A GitHub action needs at least one "job" (with steps) to run anything. Again, the job id and name aren't so important, but will identify the job in the GitHub UI:
1# ...2# on: ...34jobs:5 # job 'id'6 build:7 name: Build & publish8 runs-on: ubuntu-latest9 steps:10 - name: Checkout code11 uses: actions/checkout@v1If we want to run an action with or against our code we need to check it out first. Whilst GitHub doesn't do that by default, we can simply reference the checkout action.
This action checks-out your repository under$GITHUB_WORKSPACE, so your workflow can access it.Also note the runs-on property— this is required and specifies the type of machine to run the job on. There's a few options, but for a node / npm based action ubuntu-latest will work fine.
To publish a package, we need to authenticate our action for the GitHub NPM registry. The official documentation recommends a couple of ways of doing this, neither of which were practical for use in an continuous integration (CI) context. The solution we found involves appending the GITHUB_TOKEN to the .npmrc file after checkout, which avoids having to commit sensitive tokens. We can acheive this using bash syntax to overwrite a file:
echo '...' > ~/.npmrcWe run this immediately after checking out our code:
1# ...2# on: ...34jobs:5 build:6 # name: ...7 steps:8 - name: Checkout code9 uses: actions/checkout@v110 - name: Authenticate GitHub package registry11 run: echo '//npm.pkg.github.com/:_authToken=${{ secrets.GITHUB_TOKEN }}' > ~/.npmrcFor reference, the recommended approaches for authenticating are:
npm login— requires CLI input so won't work in CI.- Editing your per-user
~/.npmrcfile— requires committing sensitive auth tokens in the project's~/.npmrcfile.
To run node in our GitHub action, we need to set it up— there's an action for that too. Now we can install, run verification scripts, build the library and finally publish!
1name: Library build & publish2on:3 push:4 branches:5 - main6 paths:7 - "library/**"89jobs:10 build:11 name: Build & publish12 runs-on: ubuntu-latest13 steps:14 - name: Checkout code15 uses: actions/checkout@v116 - name: Authenticate GitHub package registry17 run: echo '//npm.pkg.github.com/:_authToken=${{ secrets.GITHUB_TOKEN }}' > ~/.npmrc18 # official action to setup node19 - name: Setup node20 uses: actions/setup-node@v121 - name: Install22 run: npm install23 - name: Verify24 # these are custom scripts to run eslint and tests25 run: npm run lint && npm run test26 - name: Build27 # we use rollup, so our script is 'rollup -c rollup.config.js'28 run: npm run build-library29 - name: Publish30 run: npm publish outputOur motivation for publishing in this way is to minimise the time (and effort) taken to make a change and consume it in another project. The cost of this is we have many versions each containing small changes, which are also often undocumented. This doesn't make for a good consumer experience. However, in this case it's a library for internal use only, and generally developers making the changes are also consuming them. It's also something we can definitely iterate on.
To improve the developer experience of contributing to our library— we added the following features:
- Early feedback— if a developer is making a change, we can let them know if the library will publish successfully before committing to main.
- Automated unique versioning— for a given change, we assume the developer wants a new version released, without the chore of releasing it themselves.
Pull request dry run
We can update our GitHub action so that on every pull request we run all the steps, except for actually publishing a new version.
First, we need to trigger the action on pull request as well as push, then we need to only run the publish step when a push (to main) event happens:
1name: Library build & publish2on:3 pull_request:4 paths:5 - "library/**"6 # push: ...78jobs:9 build:10 # name: ...11 steps:12 # Checkout, authenticate & setup node ...13 # Install, verify & build ...14 - name: Publish15 # only run this step on commit to main16 if: github.ref == 'refs/heads/main' && github.event_name == 'push'17 run: npm publish outputFinally, on pull requests we can perform a "dry run" of publishing:
[--dry-run] As of npm@6, does everything publish would do except actually publishing to the registry.This is useful as it shows whether the change will actually build and publish successfully.
Our action with pull request feedback:
1name: Library build & publish2on:3 pull_request:4 paths:5 - "library/**"6 push:7 branches:8 - main9 paths:10 - "library/**"1112jobs:13 build:14 name: Build & publish15 runs-on: ubuntu-latest16 steps:17 - name: Checkout code18 uses: actions/checkout@v119 - name: Authenticate GitHub package registry20 run: echo '//npm.pkg.github.com/:_authToken=${{ secrets.GITHUB_TOKEN }}' > ~/.npmrc21 - name: Setup node22 uses: actions/setup-node@v123 - name: Install24 run: npm install25 - name: Verify26 run: npm run lint && npm run test27 - name: Build28 run: npm run build-library29 - name: Publish - dry run30 # this step runs every time, but only takes a few seconds31 run: npm publish output -- --dry-run32 - name: Publish33 # only run this step on commit to main34 if: github.ref == 'refs/heads/main' && github.event_name == 'push'35 run: npm publish outputnektos/act. It allows you to run actions locally— be careful you don't accidentally publish a new version!Versioning
As the action stands, the publish step will fail unless the developer remembers to update the version with each change.
Once a package is published with a given name and version, that specific name and version combination can never be used again, even if it is removed with npm-unpublish.Additionally, if multiple developers are working on the library at the same time, they'll need to coordinate to ensure that they don't land on the same new version, or that a later version lands before an earlier one.
These issues highlight a manual process that could be improved by automation— both the choice of version, and applying a new version with each change. To achieve this, we apply the constraint that each of our versions consists of a standard semantic version and a unqiue suffix, which is the (short) Git SHA.
"@<user-name>/<library>": "0.1.0-3b4c0a0"Our build script takes a version suffix as a command line argument and appends that to a semantic version defined in code. Prior to that, we parse the first 7 digits of the Git SHA and assign it to an environment variable using:
echo ::set-env name=sha_short::$(git rev-parse --short=7 ${{ github.sha }})So, the complete action including GitHub SHA versioning is as follows:
1# .github/workflows/publish-library.yml2name: Library build & publish3on:4 pull_request:5 paths:6 - "library/**"7 push:8 branches:9 # or your 'default' branch10 - main11 paths:12 - "library/**"1314jobs:15 build:16 name: Build & publish17 runs-on: ubuntu-latest18 steps:19 - name: Checkout code20 uses: actions/checkout@v121 - name: Authenticate GitHub package registry22 run: echo '//npm.pkg.github.com/:_authToken=${{ secrets.GITHUB_TOKEN }}' > ~/.npmrc23 - name: Set short sha as environment variable24 run: echo ::set-env name=sha_short::$(git rev-parse --short=7 ${{ github.sha }})25 - name: Setup node26 uses: actions/setup-node@v127 - name: Install28 run: npm install29 - name: Verify30 # these are custom scripts to run eslint and tests31 run: npm run lint && npm run test32 - name: Build33 run: npm run build-library -- --version-suffix ${{ env.sha_short }}34 - name: Publish - dry run35 run: npm publish output -- --dry-run36 - name: Publish37 # only run this step on commit to main38 if: github.ref == 'refs/heads/main' && github.event_name == 'push'39 run: npm publish outputpackage.json, I recommend the rollup plugin generate-package-json.It allows you to overwrite the contents of the current file, as well as automatically populating dependencies that are used by your build.
Consuming your GitHub package
Consuming your NPM package requires adding the GitHub registry URL to your .npmrc:
1registry=https://npm.pkg.github.com/<user-name>Find the latest version of your package under the packages tab of your projects's repository:
https://github.com/<user-name>/<repo-name>/packagesAdd this version to the package.json of the project where you want to consume it.
If your project's repository is private, then the package will be too. To give yourself access to install locally, you'll need to authenticate an NPM registry user account.
First, create a new GitHub token with the read:packages scope. Adding write:packages and delete:packages will be helpful if you plan on managing packages from the command line. Keep the access token handy for the next step.
Next, enter the following commands into your terminal:
1# cd into your root folder2cd ~34# authenticate for the GitHub package registry5npm adduser --registry=https://npm.pkg.github.com/ --scope=<user-name>67# command line will prompt you for your details8Username: <your github username>9Password: <paste github access token>10Email: (this IS public) <your github public email>You should then have access to install and use your package locally.
To authenticate GitHub actions in other repositories, you'll need to authenticate in the same way as we did in our publish action, after we checkout, and before we install:
1# ...2jobs:3 another-action:4 # name: ...5 steps:6 - name: Checkout code7 uses: actions/checkout@v18 - name: Authenticate GitHub package registry9 run: echo '//npm.pkg.github.com/:_authToken=${{ secrets.NPM_TOKEN }}' > ~/.npmrc10 # Setup node ...11 # Install, verify ...Note that we use a different secret key (here called NPM_TOKEN) because:
GITHUB_TOKEN cannot install packages from any private repository besides the repository where the action runs.You can create another token or use the same one you created for local usage. Storing secrets against the repo (https://github.com/<user-name>/<repo-name>/settings/secrets), makes them available to GitHub actions.
Private packages
If you publish a private package (which happens by default for private repositories), then you may run into the following issues.
NPM audit
npm audit is a useful tool that scans your project for vulnerabilities, but it will fail with the following error:
Dependabot automated dependency updates
Similarly, at the time of writing, Dependabot doesn't support updating dependency files that use private package registries. There is an outstanding GitHub community issue for this issue.
Conclusion
Hopefully this clarifies some of the process required for GitHub actions and the NPM package registry, and in doing so enables other teams to use this functionality too. If I can explain the process further, or clarify why we did what we did please reach out. I'm open to feedback, and if you have a completely different way to do what we're doing, I'd love to hear that too.